


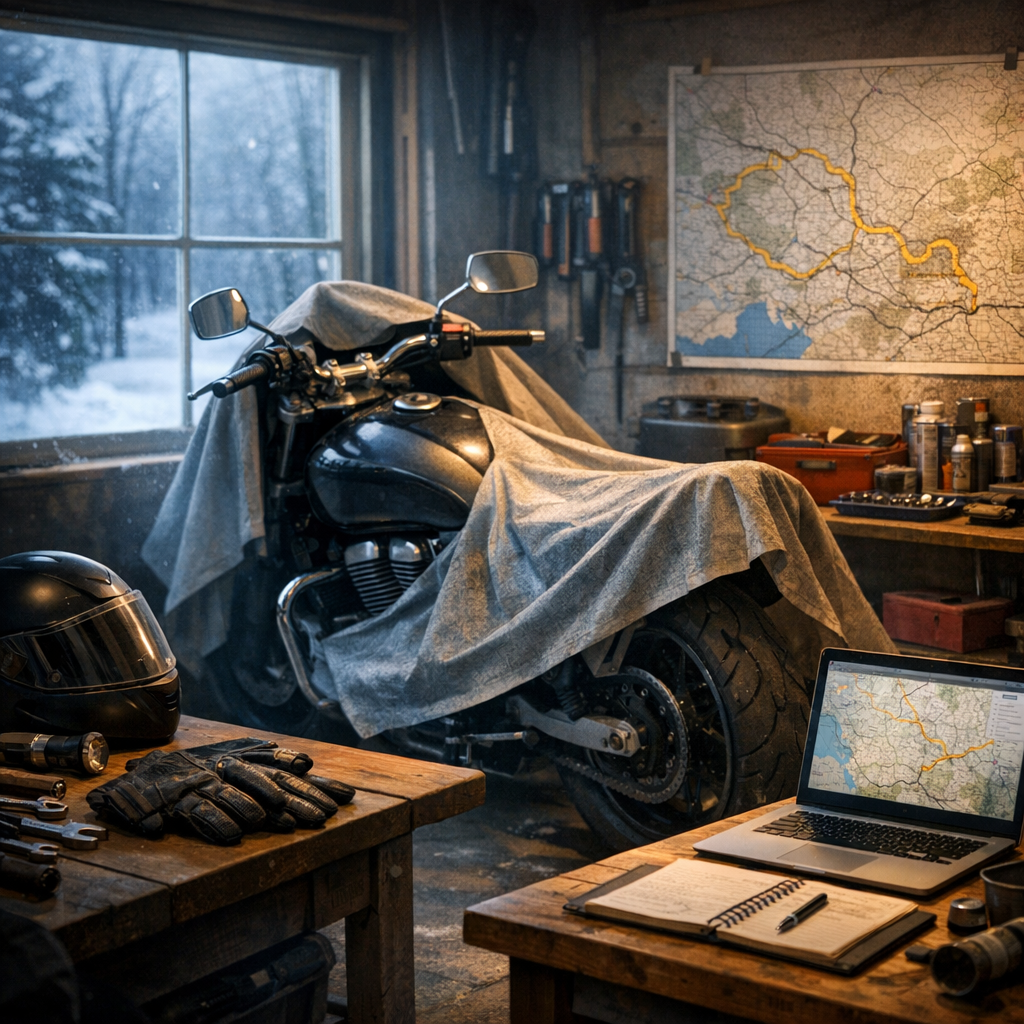
For many of us, winter means one painful reality: the motorcycle is parked, the roads are cold, and riding season feels way too far away. But just because your motorcycle is in winter hibernation doesn’t mean you have to be.
The motorcycle offseason is actually the perfect time to get ahead—so when spring arrives, you’re ready to ride instead of scrambling. Here are 9 productive (and fun) things you can do while your motorcycle is in winter storage.
1. Revamp or Upgrade Your Motorcycle Riding Gear
Winter is ideal for giving your riding gear some attention.
- Clean and condition your helmet liner, jacket, gloves, and boots
- Inspect everything for undue wear and tear (we all have that “one piece” we keep ignoring)
- Replace damaged or outdated gear
- Research new gear—there’s always something you didn’t know existed
👉 Tip: New gear often goes on sale during the offseason.
2. Improve Your Motorcycle (Without the Rush)
No riding pressure means you can plan upgrades the right way.
- Add or upgrade LED lighting
- Research exhaust options
- Plan comfort upgrades like seats, grips, or windscreens
Winter upgrades mean fewer delays when riding season returns.
3. Surf the Web (The Motorcycle Version)
Yes, this counts as productivity.
- Subscribe to IJustWant2Ride.com (of course)
- Join motorcycle forums and social media groups
- Watch what other riders are building, fixing, and riding
You’ll pick up tips, inspiration, and maybe a few bad ideas too.
4. Watch Motorcycle-Themed Movies and Shows
Sometimes you just need a reminder of why you ride.
Motorcycle movies and shows can:
- Keep the passion alive
- Inspire future trips
- Help pass the long winter nights
(I’ll be sharing a dedicated motorcycle movie list soon.)
5. Pick Out Your Next Motorcycle (Fantasy Allowed)
Let’s be honest—you’re already doing this.
- Browse new and used bikes
- Compare specs and reviews
- Dream responsibly
Your current bike—and your significant other—don’t need to know.
6. Perform a Full T-CLOCS Inspection
If you weren’t consistent during riding season, winter is the time to catch up.
T‑CLOCS Checklist:
- T – Tires and wheels
- C – Controls
- L – Lights and electrics
- O – Oil and other fluids
- C – Chassis
- S – Stands
Catching issues now prevents delays (or breakdowns) later.
7. Get Back into Riding Shape
Motorcycles don’t care if you skipped leg day—but your body does.
- Light strength training
- Core work
- Flexibility and balance exercises
Spring rides feel a lot better when your body is ready.
8. Plan and Research Your Next Rides
Winter is planning season.
Ask yourself:
- Which rallies do I want to attend?
- What destinations have I always wanted to ride to?
- Which roads are still on my bucket list?
Good rides start with good planning.
9. Sit… and Wait (Unfortunately)
Eventually, you’ve done it all.
So you wait. You watch the weather. You sigh. And you remind yourself—it won’t be winter forever. Spring is coming.
Final Thoughts
Winter hibernation doesn’t have to mean wasted time. Use it wisely, and when the first warm day arrives, you won’t be catching up—you’ll already be rolling.
Until then…
WINTER SUCKS, I just want to ride.
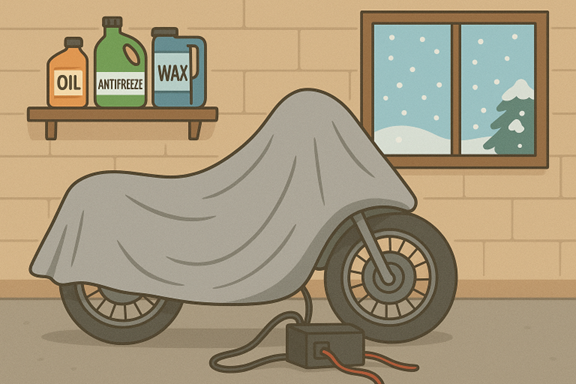


 about this step but, many folks recommend that you let some of the air out of the tires, to allow any condensation to escape. Of course, you need to add more air to the tires after you bleed them. Also, many folks think you need to get the tires off the ground if you are going to be letting them sit for long periods to avoid “flat spots”. I am not sure I concur with this thinking and I have read in several places that Harley Davidson does not recommend this as it places stress on the front suspension. Check with your manufacture if this is something you are not sure about.


